How to Make Hideout Art
Step-by-step: turn an image into Path of Exile hideout art and import it into your hideout.
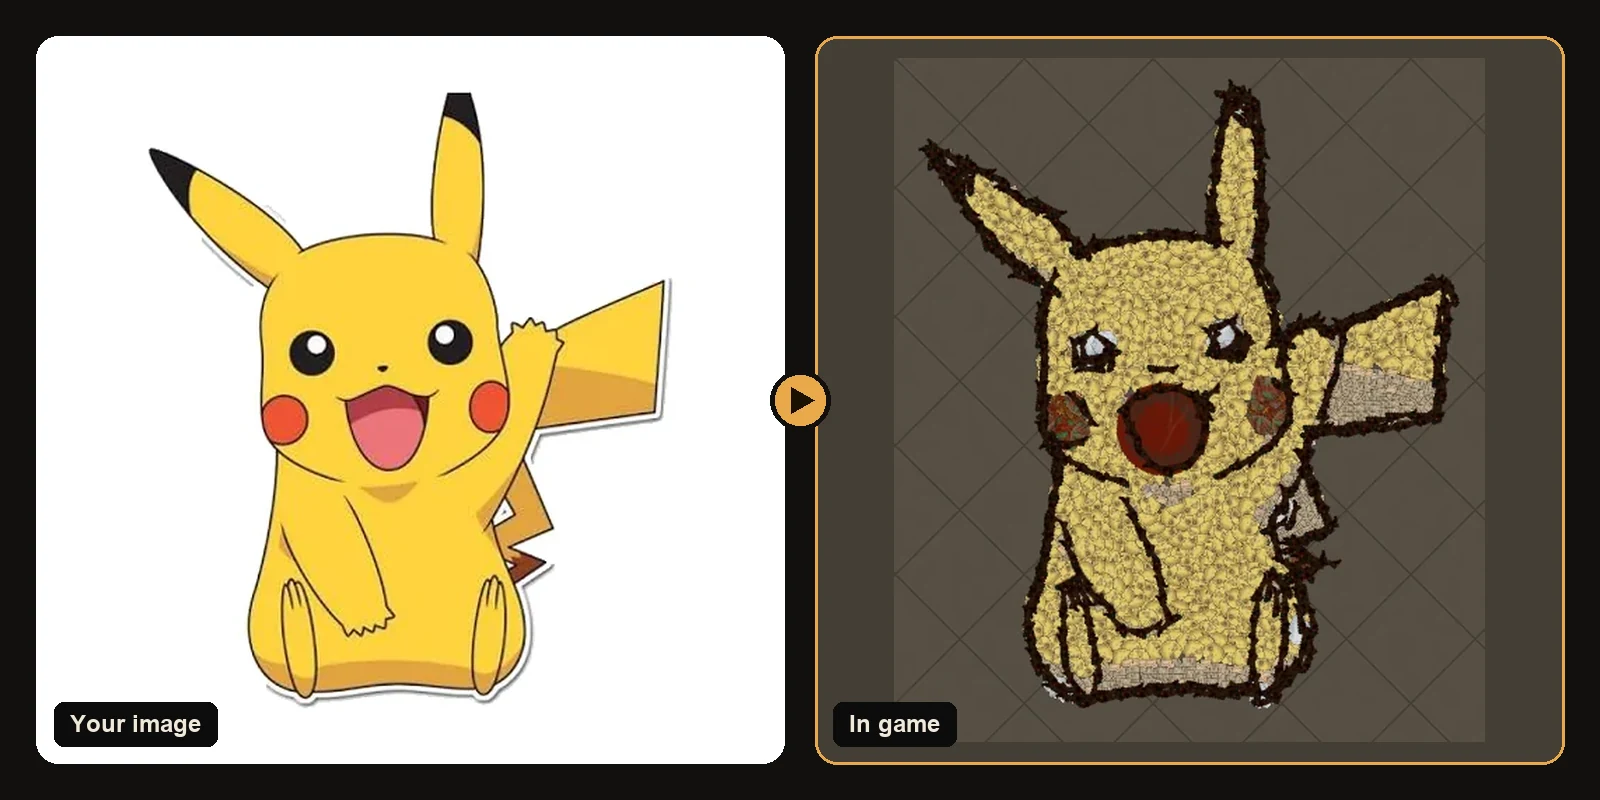
This guide walks you through making hideout art from an image and putting it in your Path of Exile hideout. It takes about five minutes the first time, and works the same way in Path of Exile 1 and Path of Exile 2.
Before you start
- Know which hideout you want the art in. A
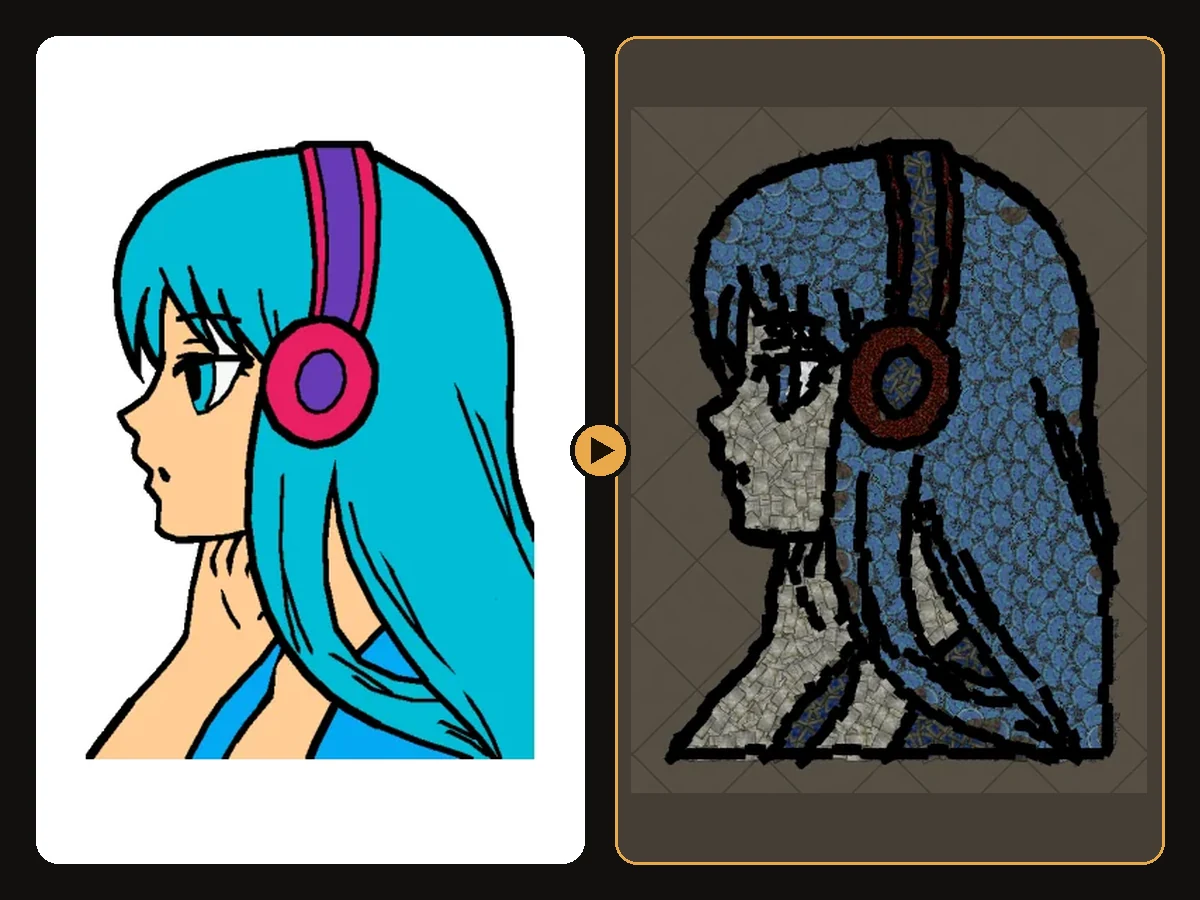
.hideoutfile only imports into the same hideout type it was made for. If you switch hideouts often, pick the one you spend the most time in. - Choose a clear image. Cartoons, logos and anime with bold outlines work best. See best images for hideout art if you are not sure.
- Export your current hideout (optional). In the game's hideout edit menu, Export saves your current layout so you can always go back.
Step 1: Generate a free preview
- Open the generator.
- Choose Path of Exile 1 or Path of Exile 2.
- Select your hideout from the list.
- Drop in your image and press Try it free.
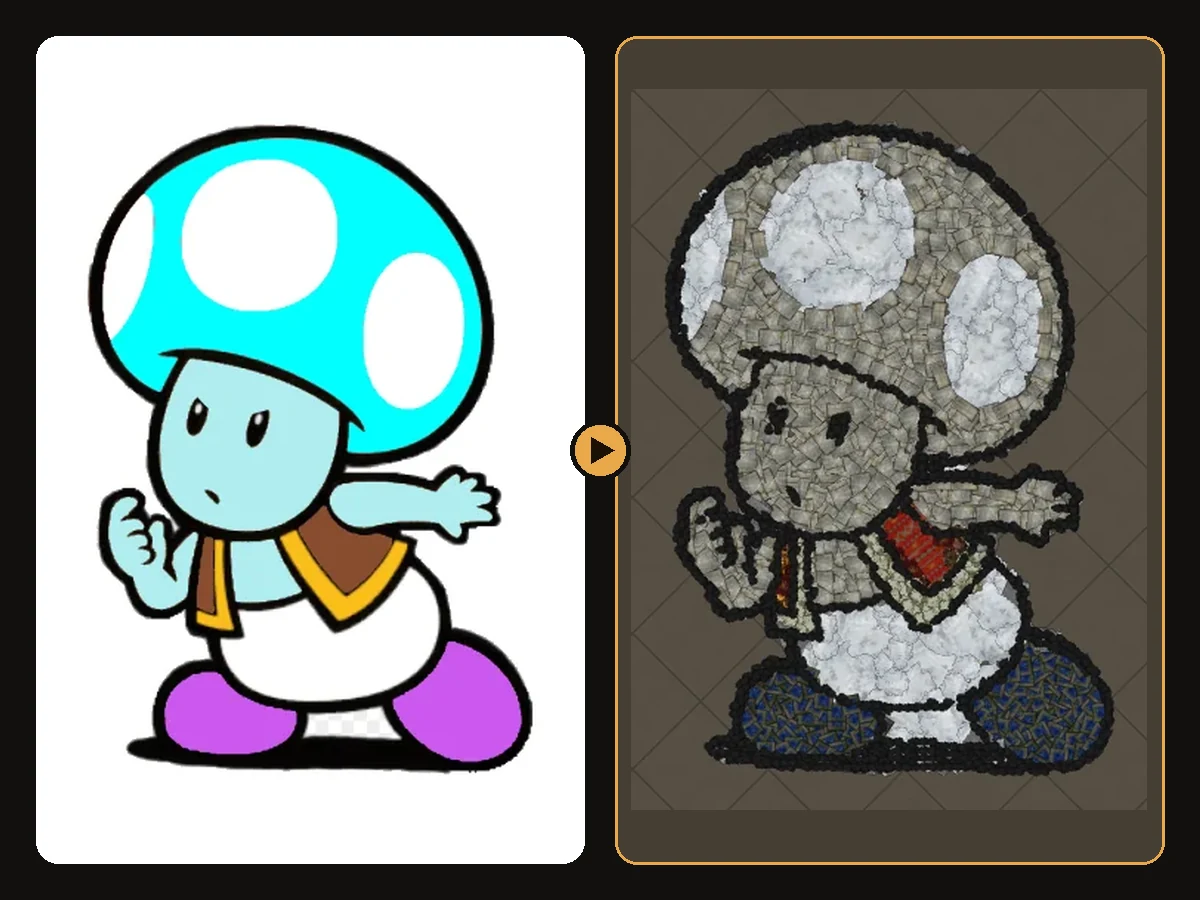
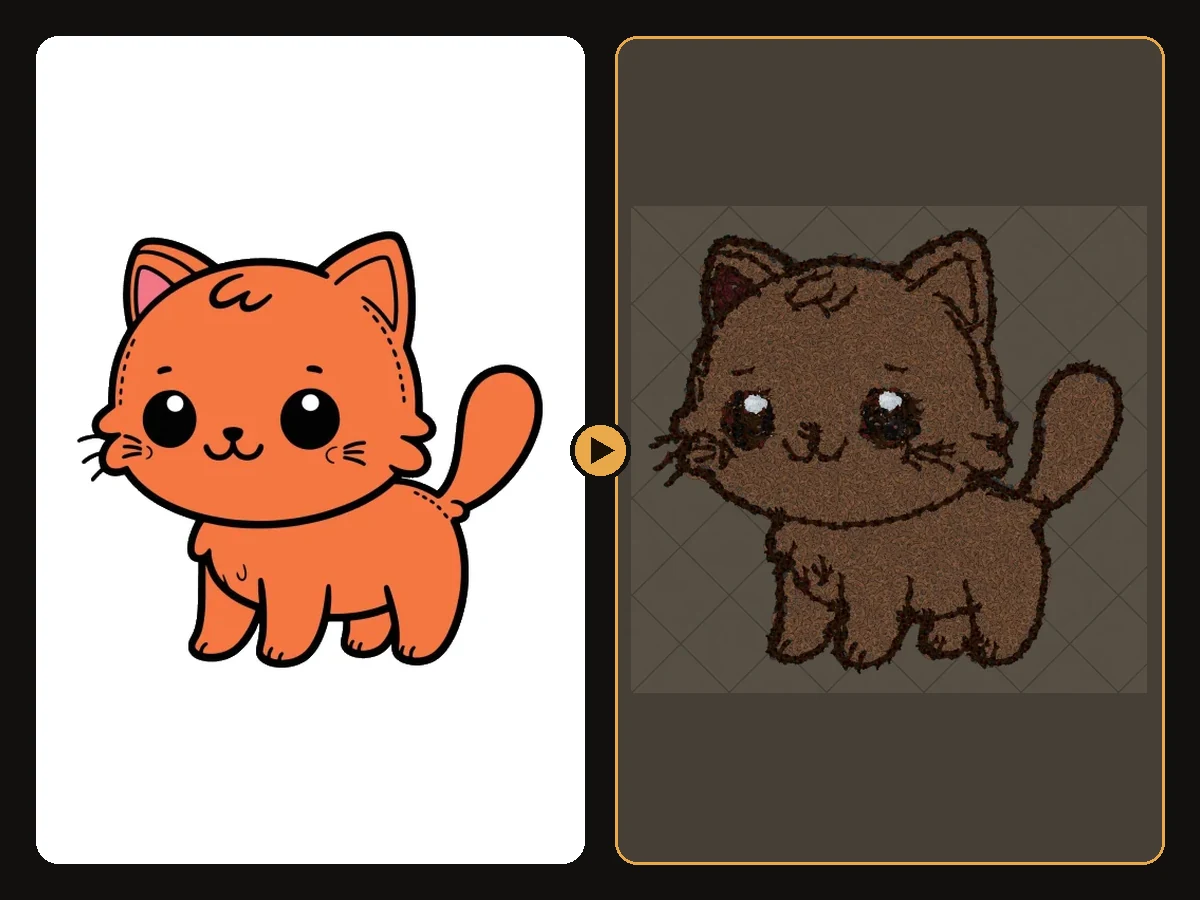
After a few seconds you get a preview drawn from the decorations' real meshes and textures, so it matches what you will see in game.
Step 2: Adjust the result (optional)
The defaults work for most images. If you want to fine-tune:
- Art size: how big the artwork is. Every result is automatically fitted to the game's 750-decoration limit, so the whole picture always imports.
- Art position: X/Y in hideout coordinates. It starts at the hideout's centre; move it next to your stash or waypoint so you see it every time you log in.
- Max colours: fewer colours give a cleaner, poster-style look; more colours keep shading.
- Outline and line art: turn these on for cartoons and drawings, off for photos.
- Shop decorations: include them for the richest palette, or exclude them if you only want free decorations.
- Keep existing objects: choose whether your stash, benches, masters and existing decorations stay.
Generate again after each change; plans include unlimited previews.
Step 3: Check the decoration list
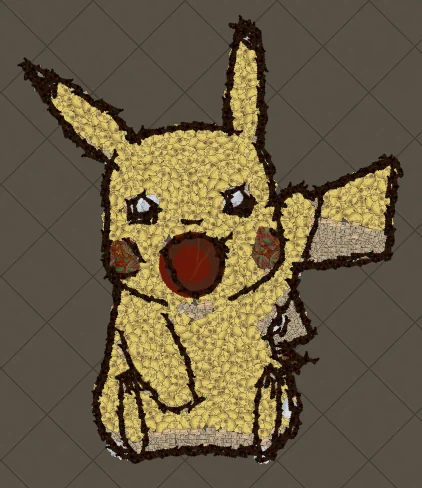
The result page lists every decoration in the artwork with its count. Decorations you have not unlocked are skipped on import, so check the list and unlock anything missing before you import. Each art guide on this site shows its list too, for example Pikachu.
Step 4: Download the .hideout file
Unlock the result to download the .hideout file. It uses one download from your plan.
Step 5: Import it in game
- Travel to your hideout.
- Open Edit Hideout.
- Click Import and choose the downloaded file.
- Confirm, and the artwork appears in place.
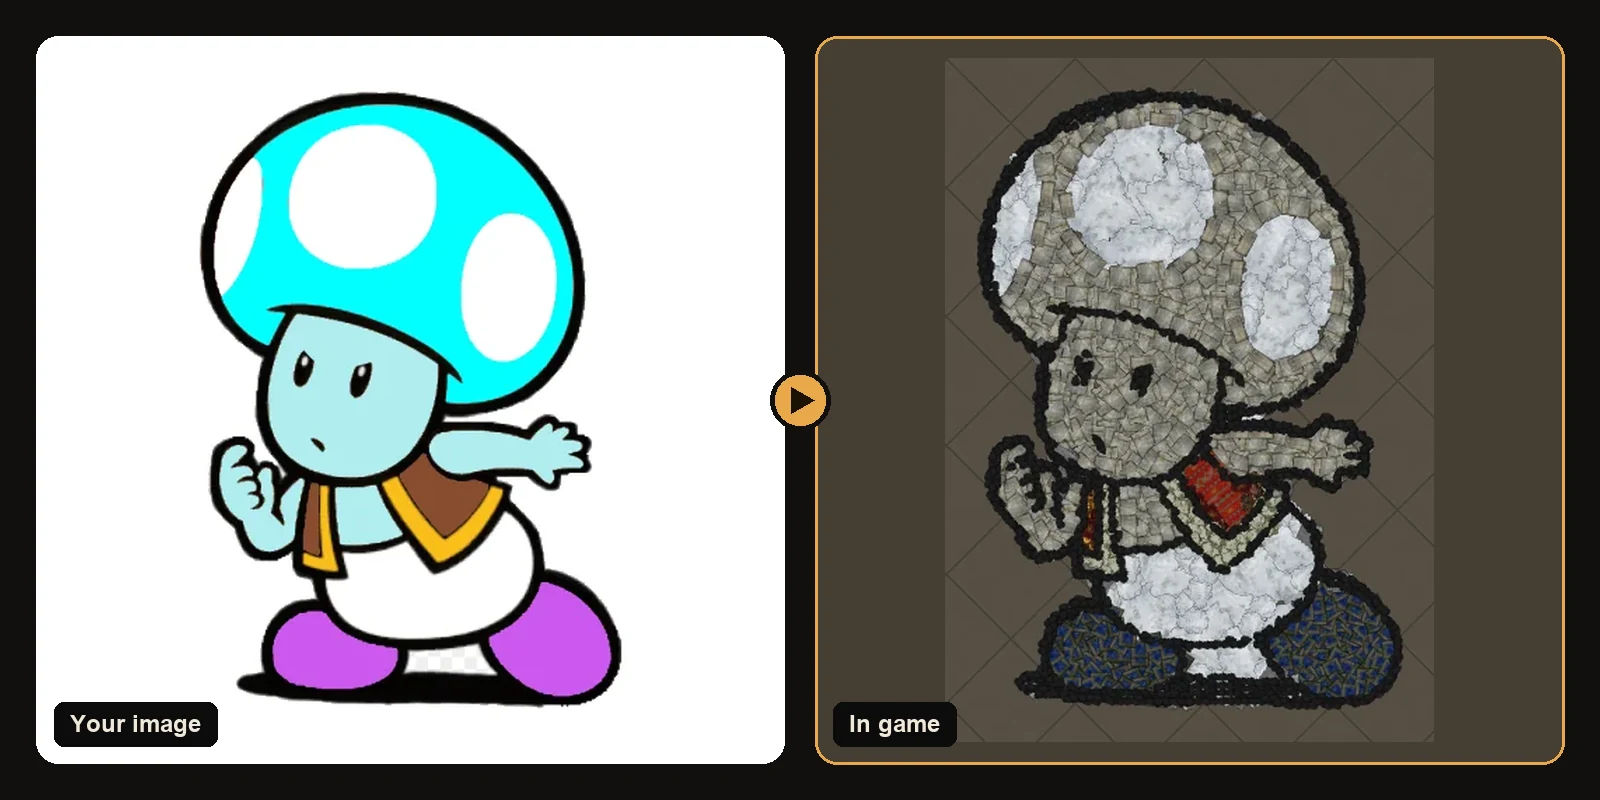
The full import walkthrough, with fixes for common problems, is in how to import hideout art.
Troubleshooting
- Nothing appeared after importing: check that you imported into the same hideout type you chose on the website.
- Parts of the picture are missing: those decorations are not unlocked on your account yet.
- The art looks blurry or blocky: increase the art size, or use an image with clearer outlines and fewer colours.
- The art is in the wrong place: change the X/Y position on the generator and download again.
Ideas to start with
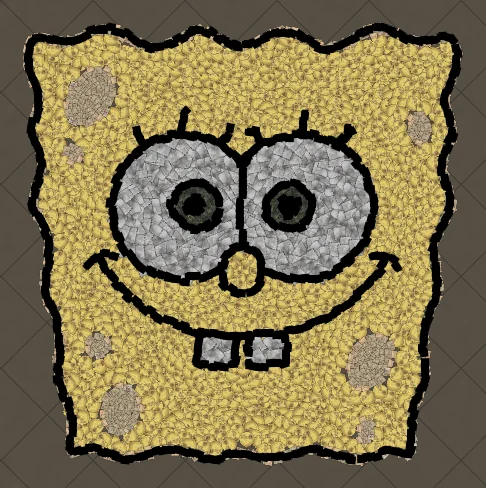
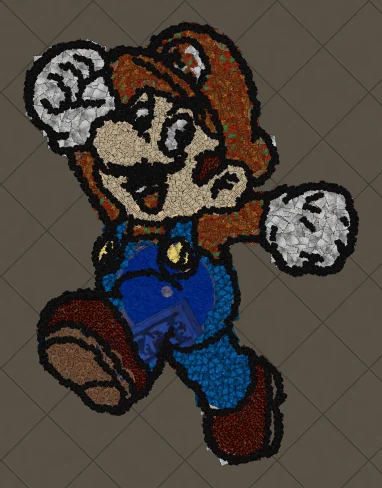
Not sure what to make? These are the most popular builds, each with a full guide:
Art guides
View all
Pokémon
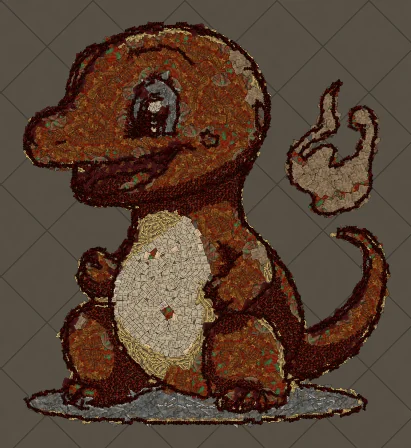
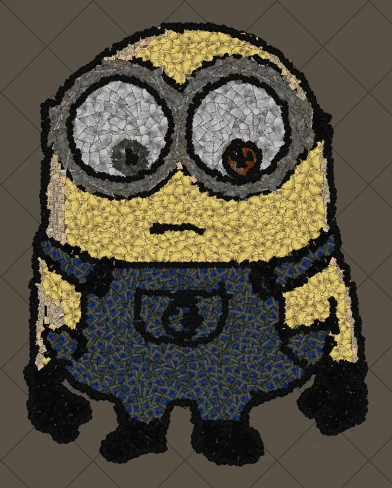
How to Make Charmander Hideout Art in Path of Exile
Charmander, the Fire-type starter Pokémon, is one of the most loved designs in the series. Its warm orange body, cream belly and flame-tipped tail map beautifully onto the earthy reds and browns that Path of Exile decorations do best.
Sports
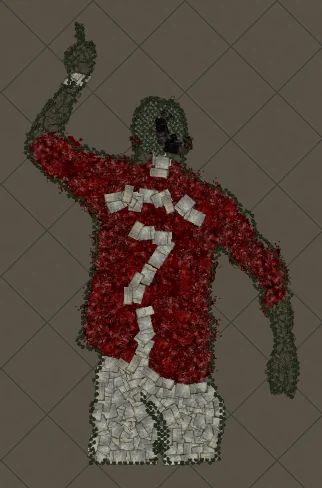
How to Make Football Star No. 7 Hideout Art in Path of Exile
A football celebration silhouette with the famous number 7 on the back. Sports art like this works because the pose and the shirt colours carry the whole image, and both translate cleanly into decorations.
 Cartoons
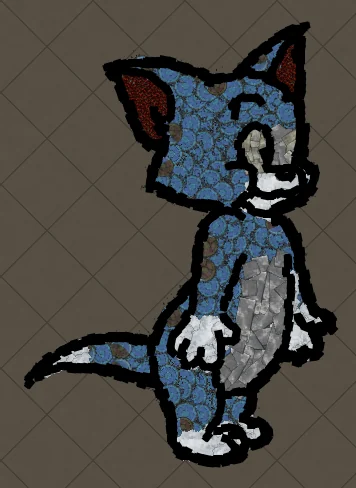
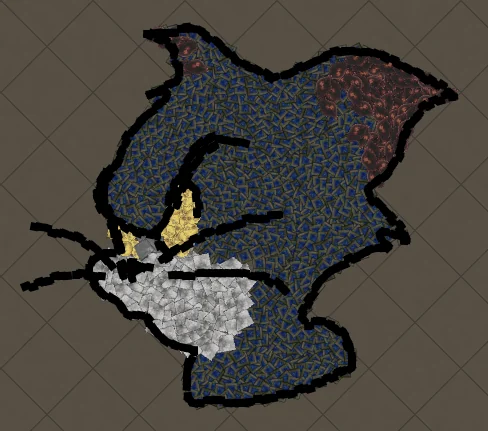
How to Make Tom Portrait Hideout Art in Path of Exile
A close-up of Tom's face, with sharp eyes and a sly expression. Portraits put all the decorations into the face, so expressions come through with surprising detail.
Keep reading
 Guides
How to Import Hideout Art into Path of Exile
Import a .hideout file into your Path of Exile hideout, and fix the most common problems.
 Tips
Tips
Best Images for PoE Hideout Art
Which images turn into great Path of Exile hideout art, and how to prepare them.
 Explained
How PoE Hideout Art Actually Works
What happens between uploading an image and importing a hideout full of decorations.