How to Turn Line Art into Hideout Art
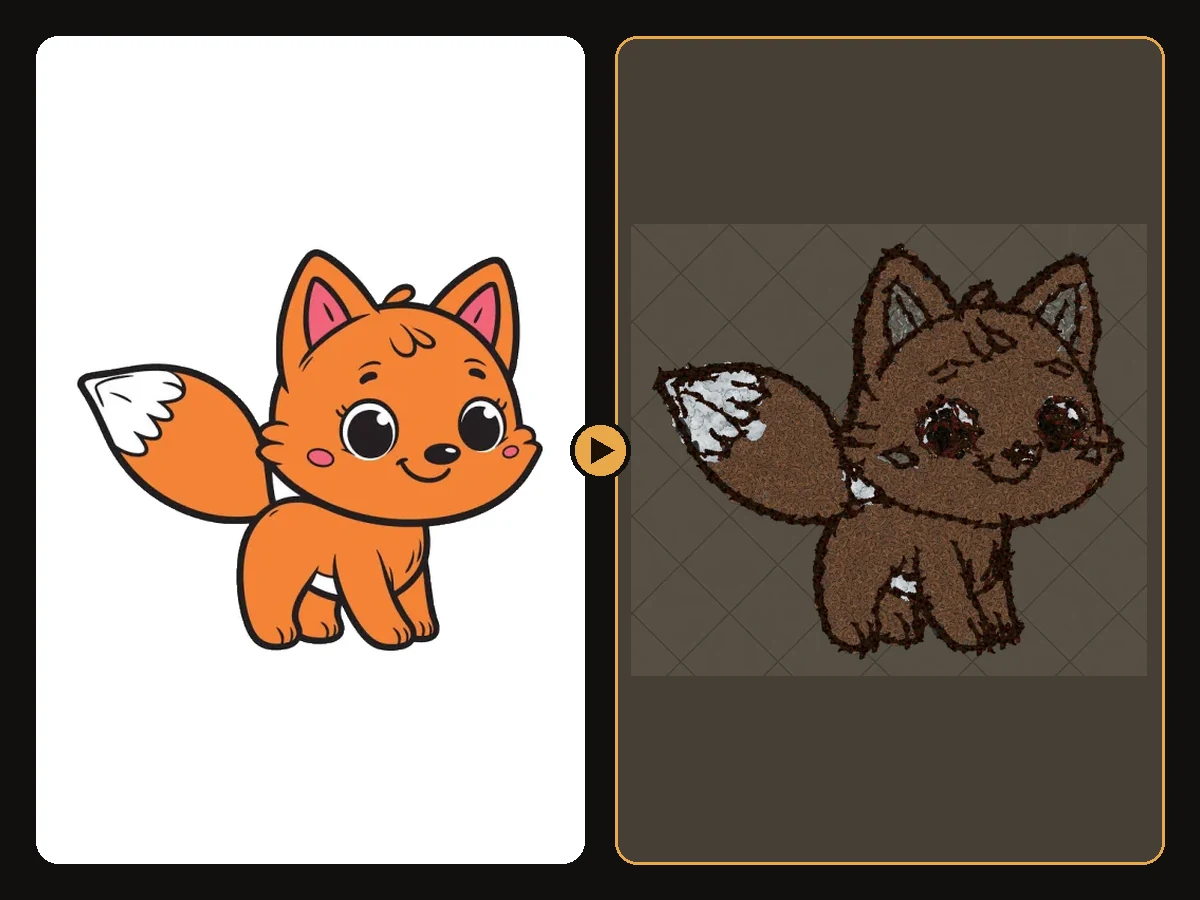
Colouring-page outlines make elegant decoration builds.
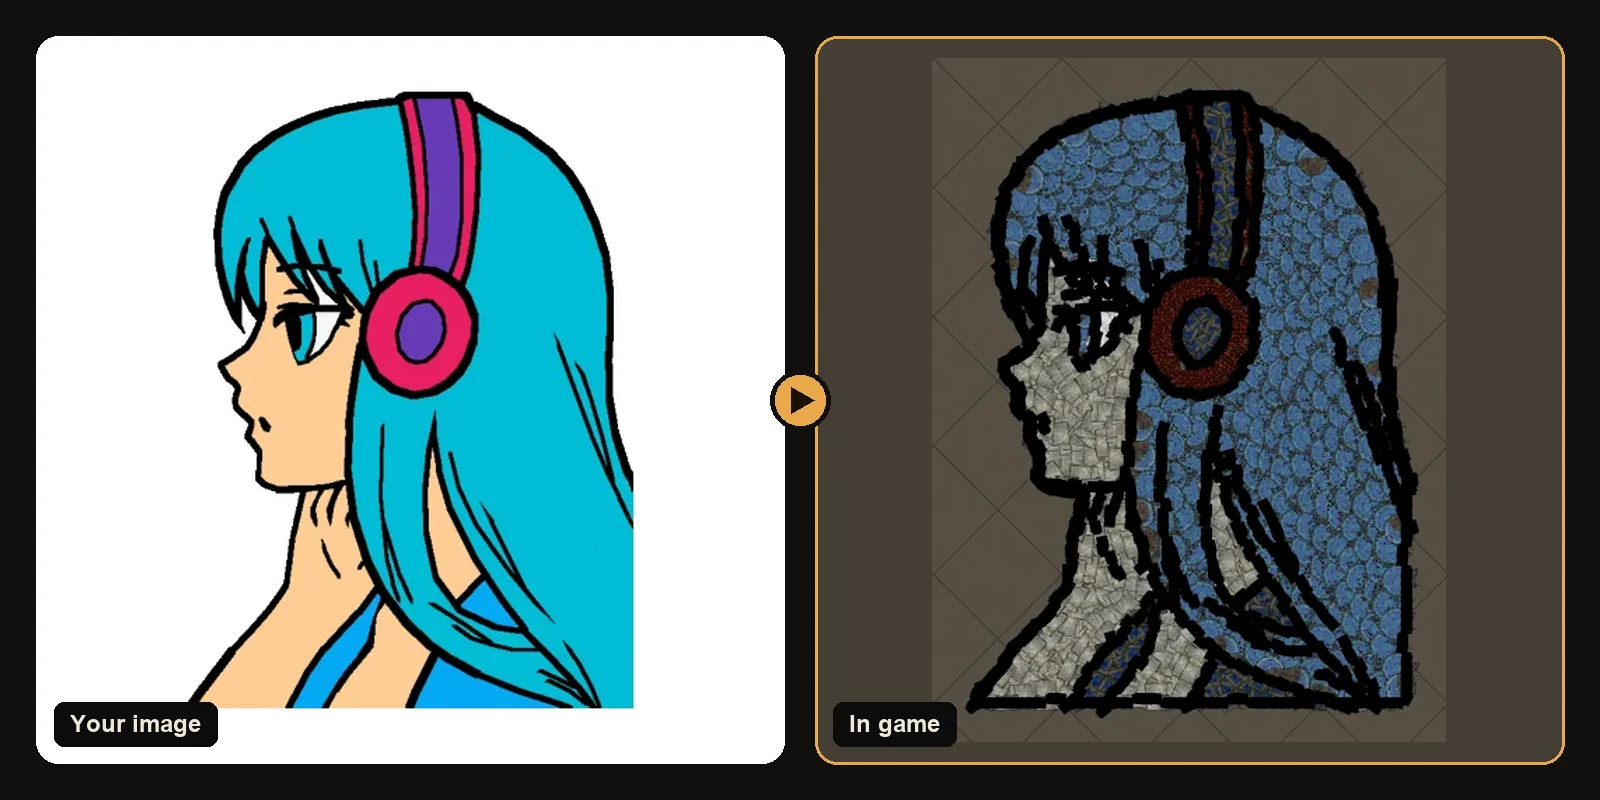
Colouring-page outlines make elegant decoration builds.
The same workflow works in Path of Exile 1 and Path of Exile 2. Only the decoration list and hideout types change when you switch games on the generator.
What hideout art actually is
Every decoration in Path of Exile is a small 3D object: a pile of books, a rug, a scattered bone, a patch of moss. Each one has a fixed colour and texture and each can be placed anywhere in your hideout with any rotation. Hideout art uses those objects like the tiles of a mosaic. Colour areas become fills. Dark lines become a brush outline. The finished picture is part of your hideout so visitors see it in screenshots and on stream.
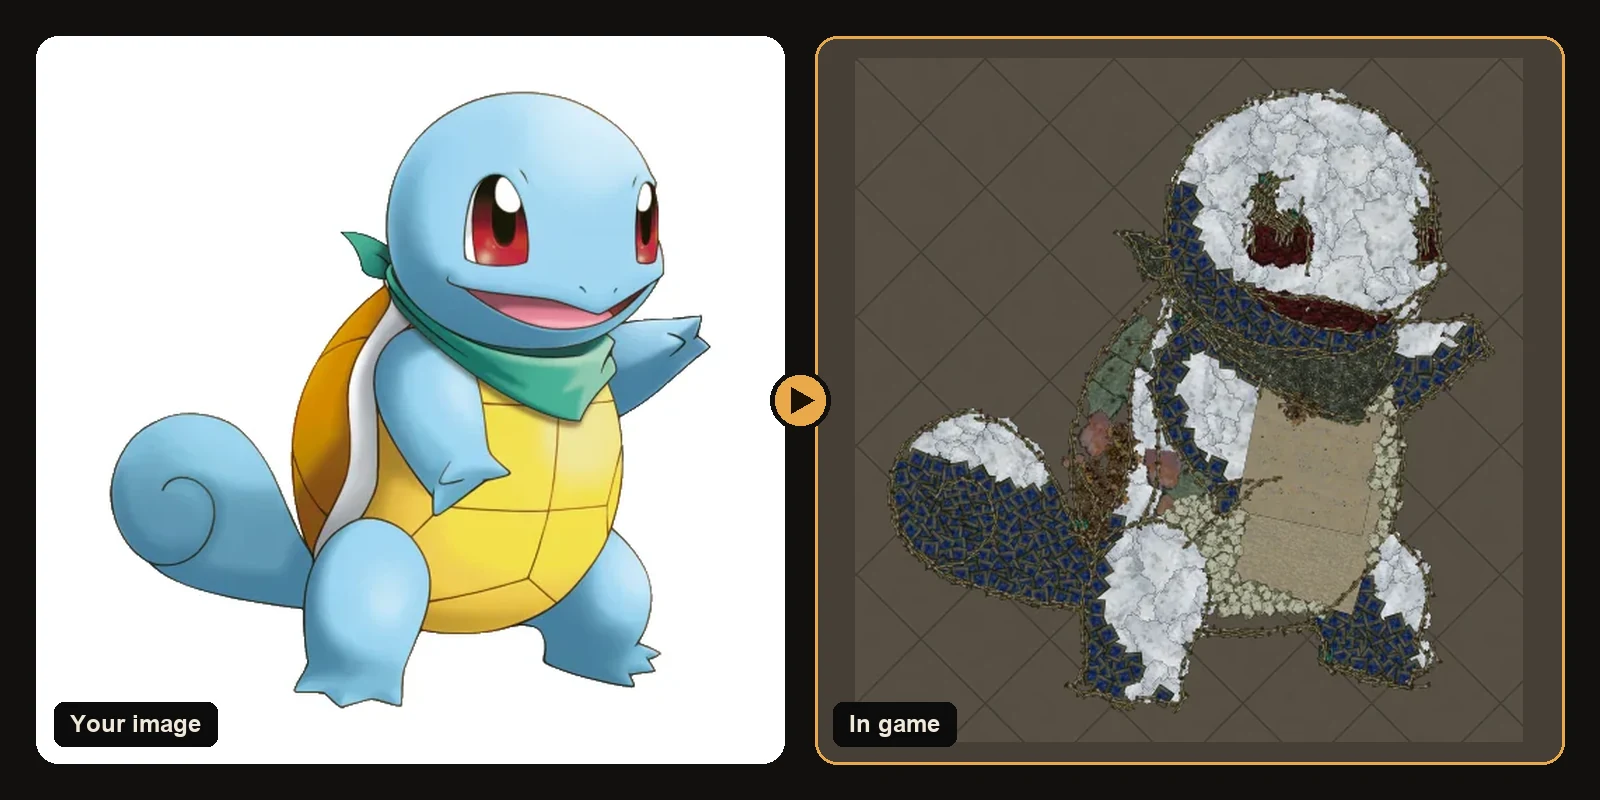
That is why a clean source image matters so much. The generator can only place decorations that exist. It cannot invent neon paint that is not in the catalogue. It can keep contrast shape and silhouette which is what reads from the hideout camera.
Why this topic matters
How to Turn Line Art into Hideout Art comes up whenever players want readable floor art without spending evenings in the editor. Handmade builds need hundreds of placements. One mistake in the outline means moving dozens of pieces. The POE Hideout Art Generator reads your image picks matching decorations and writes a .hideout file you import with the game's own Import button.
Practical steps
- Crop to one clear subject and remove a busy background when you can.
- Open the generator and pick Path of Exile 1 or 2 plus the hideout you live in.
- Upload a PNG JPG WEBP GIF or BMP. Transparent backgrounds stay transparent.
- Start near 100 art size units. Raise size for faces and fine marks. Lower size if you need headroom under the 750 decoration cap.
- Check the free in-game preview. Fix the image or settings before you download.
- Download the
.hideoutfile unlock any skipped decorations from the result list and import from Edit Hideout.
What makes the result look good
Real decorations at real sizes
Nothing is scaled or recoloured beyond what the catalogue allows. The preview is drawn from real meshes and textures so it matches what you see after import.
Shapes that follow the drawing
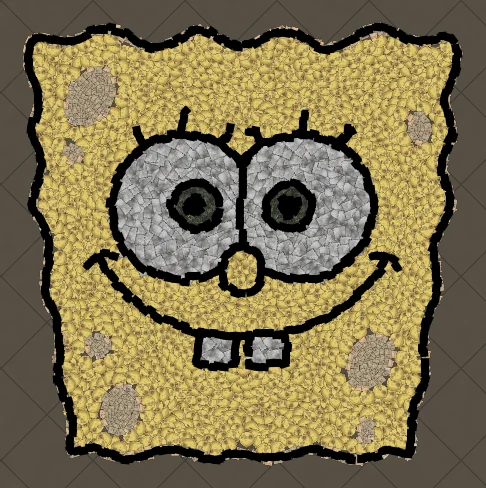
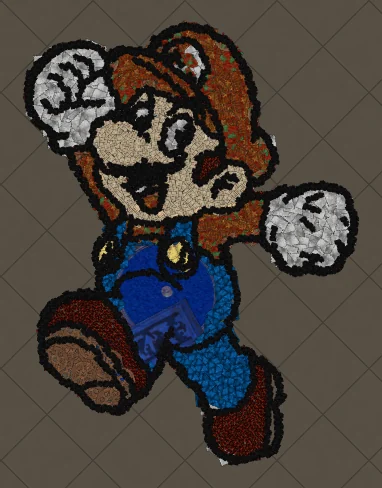
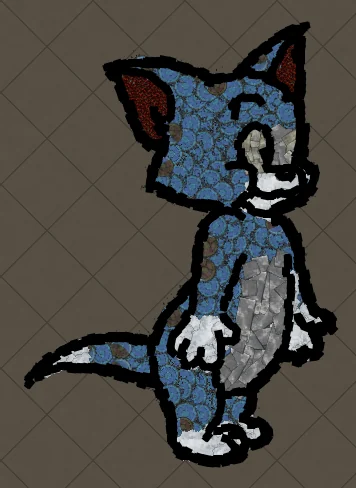
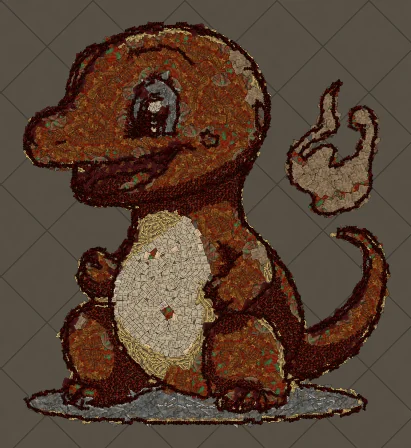
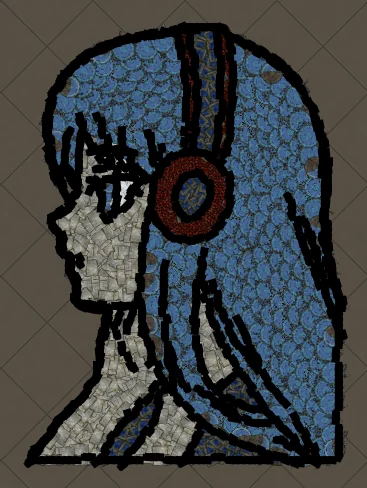
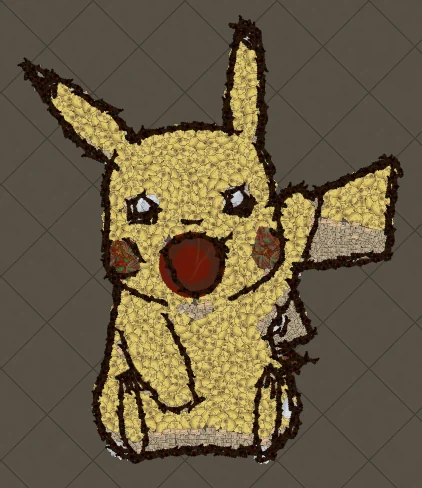
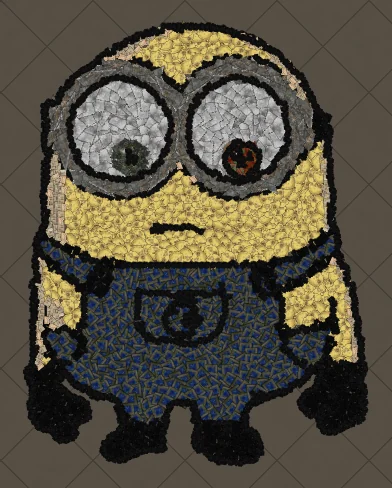
Large pieces fill the inside of each colour area. Smaller ones finish the edges. A dark brush traces line art so eyes mouths and logo corners stay readable.
Colour matching that keeps contrast
Path of Exile decorations lean stone wood cloth and metal. Bright yellow becomes a warm cream or sand. Dark outlines stay dark. The free preview shows the truth before you spend a conversion.
Image styles that convert cleanly
Players keep coming back to the same input families because they share bold outlines and flat colours:
- Cartoons and characters like Laughing Smiley
- Logos guild crests and chunky text
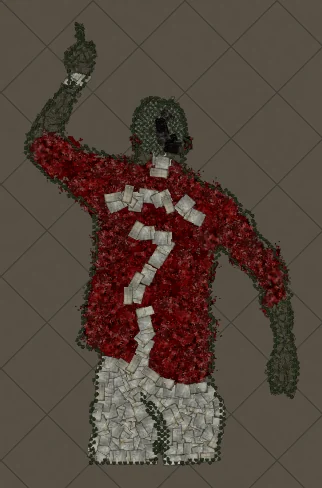
- Anime portraits with strong hair shapes
- Emojis icons and line-art colouring pages
Photos can work too if you simplify them first. See best images for PoE hideout art for the full checklist.
Common mistakes to avoid
- Leaving a busy background so decorations are wasted on scenery
- Using thin fonts or hairline outlines without raising art size
- Ignoring the hideout type so import refuses the file
- Importing before unlocking decorations listed on the result page
- Covering stash waypoint or crafting benches with the picture
Keep the hideout usable
Art should sit where the camera already looks. Leave clear walking room to stash waypoint and crafting. A signature piece next to the path you take every map is better than a wall of decorations you trip over.
Next steps
- How to make hideout art: the full step-by-step walkthrough.
- Best images for PoE hideout art: what converts best and how to prepare it.
- How to import hideout art: getting the file into your hideout.
- How PoE hideout art works: what the generator does under the hood.
- How many decorations does hideout art use?: art size, the 750 cap and typical counts.
- Open the generator and try a free preview.
Art guides
View all
Cartoons
How to Make Tom the Cat Hideout Art in Path of Exile
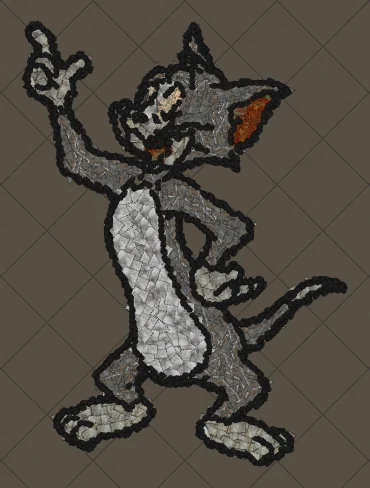
Tom from Tom and Jerry is all expressive curves: pointed ears, a long tail and a two-tone blue-grey body. The outline engine follows every one of those curves, which makes Tom a great showcase of how decorations bend along a drawing.
 Cartoons
How to Make Tom Waving Hideout Art in Path of Exile
Tom in a full-body waving pose. Long limbs and a long tail make this a great example of decorations being rotated to follow the direction of each line.
Pokémon
How to Make Charmander Hideout Art in Path of Exile
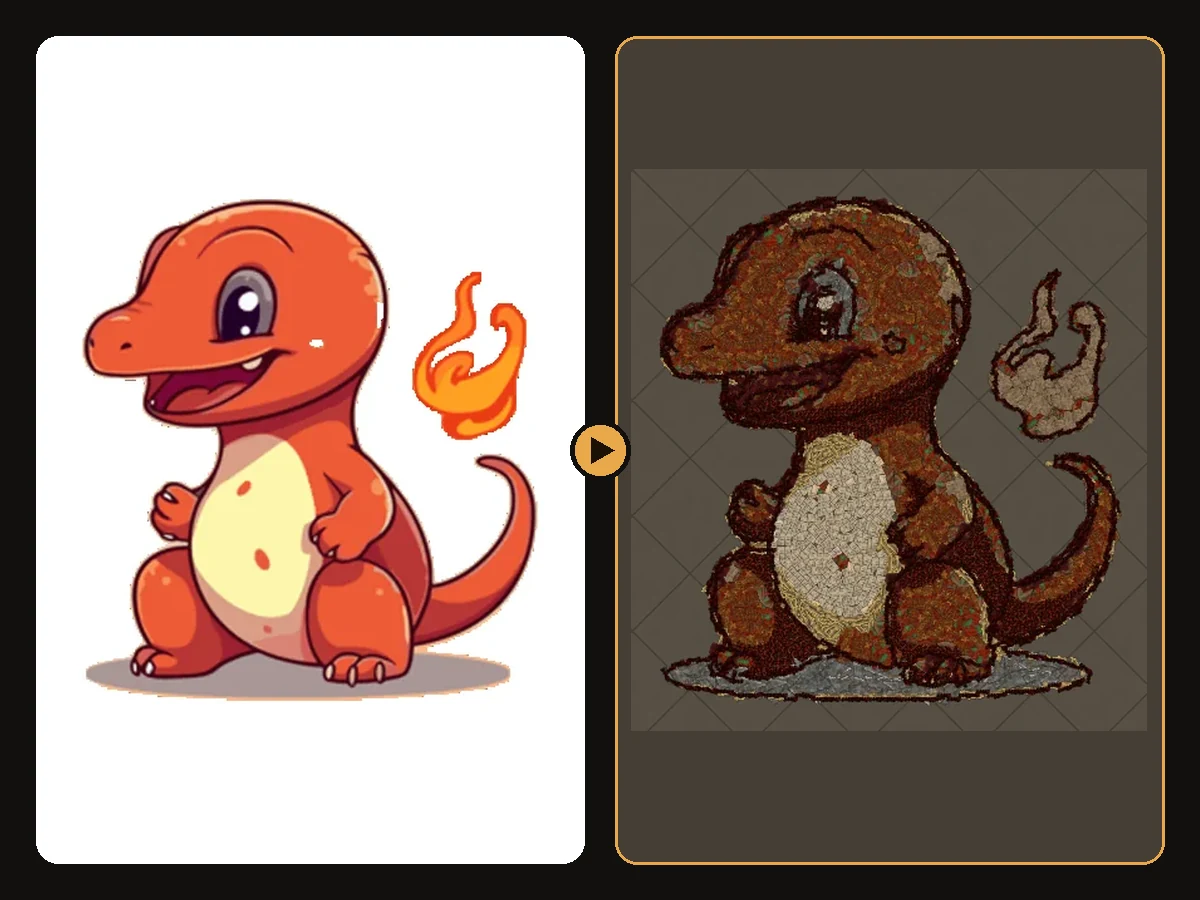
Charmander, the Fire-type starter Pokémon, is one of the most loved designs in the series. Its warm orange body, cream belly and flame-tipped tail map beautifully onto the earthy reds and browns that Path of Exile decorations do best.
Keep reading
 Guides
How to Make Sharp Looking Hideout Art
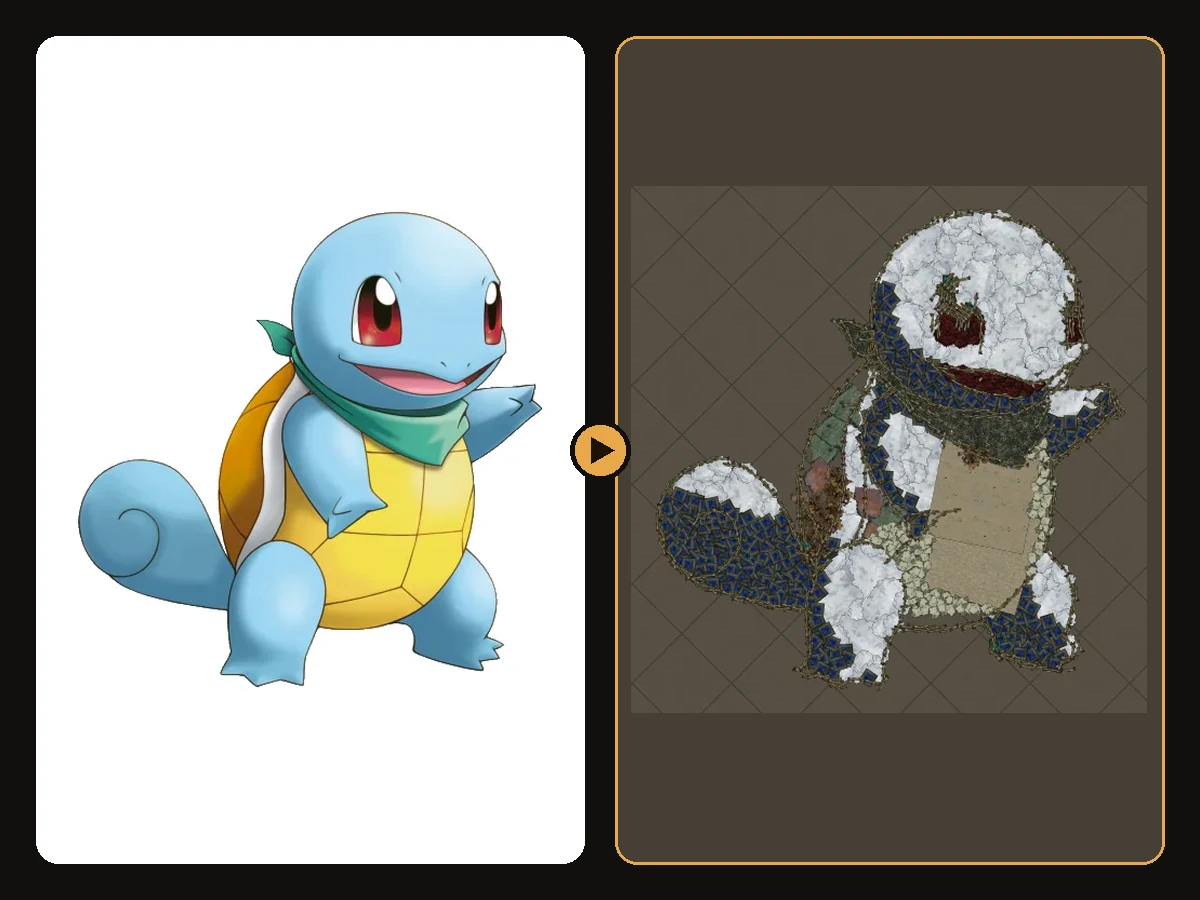
Practical steps so generated Path of Exile hideout art stays readable from the camera.
 Tips
How to Keep a Clean Silhouette in Hideout Art
Cropping and background choices that stop the generator from building clutter.
 Guides
How to Turn a Logo into Hideout Art
Flat colours and bold shapes make logos some of the cleanest hideout art.